
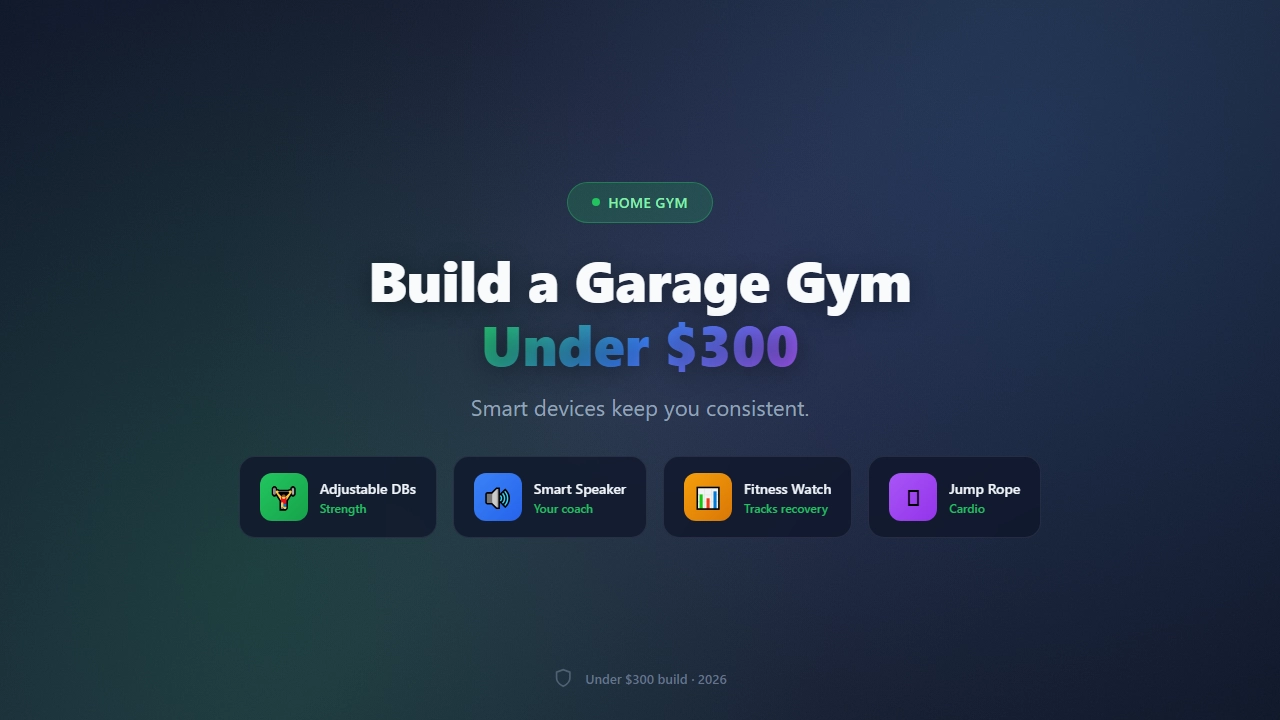
Commercial gym memberships now average $75 per month in many cities. That’s $900 annually—enough to build a permanent home gym that pays for itself in under five months. The challenge? Most “budget home gym” guides assume you have $1,000+ to spend, or they recommend flimsy equipment that breaks within weeks.
Here’s the truth: you can build a legitimate garage gym for under $300 by combining strategic equipment choices with smart device integration. The secret isn’t buying one expensive all-in-one machine—it’s assembling versatile, durable tools that work together, then using affordable smart tech to replicate the guided workout experience of a commercial gym.
This guide walks you through every step: planning your space, choosing the right equipment, integrating smart devices for under $50, and setting up a training environment that actually motivates you to show up.
Why Build a Garage Gym with Smart Devices?
A garage gym eliminates commute time, membership fees, and waiting for equipment. Adding smart devices transforms a basic setup into a guided training experience:
- Access to thousands of workout classes for $10–15/month instead of $40+ boutique studio rates
- Automatic workout tracking synced to Apple Health, Google Fit, or Strava
- Real-time form feedback and personalized programming through AI-powered apps
- Entertainment integration so you can stream classes, movies, or music while training
The combination of physical equipment and digital coaching delivers results comparable to commercial gym experiences at a fraction of the cost.
Step 1: Plan Your Garage Space (Before Buying Anything)
The biggest mistake in garage gym builds? Ordering equipment before measuring. That power rack you found on sale won’t matter if it doesn’t fit under your garage door opener.
Measure These Dimensions
- Length, width, and height of your available space
- Garage door opener height and track position
- Electrical outlet locations for smart device charging
- Support beams or immovable storage
A single-car garage (200–250 sq ft) accommodates a basic weight setup. A 10×10 foot corner works with the right equipment and organization.
Flooring Considerations
Concrete is hard on joints and cracks under dropped weights. Rubber gym mats (at least 0.5 inch thick) protect your floor and reduce noise. For the budget-conscious, horse stall mats from farm supply stores cost less than branded gym flooring.
Budget allocation: $0–40 for basic matting. Skip expensive flooring until your equipment is sorted.
Step 2: The $300 Equipment Blueprint
Success on a $300 budget requires ruthless prioritization. Every purchase must serve multiple purposes and survive years of use.
Priority 1: Adjustable Dumbbells ($50–80)
Adjustable dumbbells are the foundation of any budget strength setup. They replace an entire rack of fixed weights and handle presses, rows, curls, and accessory work.
What to look for:
- Plate-loaded models (not dial-style) are more durable and cheaper
- Standard 1-inch plates allow you to buy extra weight at garage sales for pennies
- Avoid off-brand adjustables with flimsy locking mechanisms
Where to find them: Facebook Marketplace and Craigslist frequently have barely-used sets at 50–70% off retail.
Priority 2: Gymnastic Rings or Pull-Up Bar ($30–40)
Wood gymnastic rings offer better grip than plastic and can hang from a garage beam, tree branch, or doorway pull-up bar. They enable dips, rows, pull-ups, and overhead presses—hitting every upper-body muscle group.
If rings aren’t feasible, a doorway pull-up bar serves as the foundation for bodyweight training.
Priority 3: Heavy-Duty Resistance Bands ($20–30)
Resistance bands add hundreds of exercise options for minimal cost. They assist pull-ups, add resistance to squats, and enable face pulls, lateral raises, and mobility work.
Look for: Fabric or layered latex construction rated for at least 150 lbs of tension.
Priority 4: Flat Bench ($35–50)
A solid, welded flat bench with 500+ lb capacity is safer than a shaky adjustable model at the same price. It enables chest presses, rows, step-ups, and Bulgarian split squats.
Note: Adjustable benches under $50 typically have weak locking mechanisms. Buy flat, save for adjustable later.
Priority 5: Sandbag ($40–60)
A heavy-duty sandbag shell filled with play sand from a hardware store creates a 100-lb training tool for carries, cleans, and squats. This “odd object” training builds functional strength that machines can’t replicate.
Priority 6: Jump Rope ($10–15)
The most space-efficient cardio tool available. Ten minutes of jump rope intervals taxes your lungs more than thirty minutes of jogging on a cheap treadmill. A weighted speed rope improves coordination and burns 10–15 calories per minute.
Budget Summary
| Item | Cost Range | Source |
|---|---|---|
| Adjustable Dumbbells | $50–80 | Facebook Marketplace, Amazon |
| Gymnastic Rings/Pull-Up Bar | $30–40 | Amazon |
| Resistance Bands | $20–30 | Amazon, Five Below |
| Flat Bench | $35–50 | Amazon, Walmart |
| Sandbag + Sand | $40–60 | Amazon + Hardware Store |
| Jump Rope | $10–15 | Amazon, Five Below |
| Total | $185–275 |
This leaves $25–115 for smart device integration and matting.
Step 3: Smart Device Integration for Under $50
You don’t need a $2,000 smart mirror or $4,000 wall-mounted system. Here’s how to add smart capabilities to your budget garage gym:
Option A: Tablet + Streaming App ($0–15/month)
Prop an existing tablet or phone on a bench or dumbbell rack. Subscribe to one fitness app that covers strength, cardio, and mobility:
- Peloton App ($11/month): 90% of the live class experience without the bike
- iFIT ($15/month): Works with many equipment brands and offers scenic workouts
- YouTube (free): Countless full-length workout videos from credible trainers
Option B: Bluetooth Heart Rate Monitor ($25–35)
A chest strap or armband monitor syncs your effort data to apps and ensures you’re training in the right zones. Look for models that connect to multiple platforms (Apple Health, Google Fit, Strava).
Option C: Smart Scale ($20–30)
Tracks body weight, body fat percentage, and muscle mass, then syncs to your phone. Creates accountability and shows progress beyond the mirror.
Smart Device Setup Tips
- Check compatibility before buying: Search “[Device Name] + [Your App]” on YouTube to see real user experiences
- Prioritize open ecosystems: Devices that work with 3+ apps avoid locking you into one brand
- Use a phone mount ($10–15): Keeps your screen visible during floor workouts
Step 4: Setting Up Your Garage Gym Environment
Lighting
Garages often have dim, single-bulb lighting. Add a $20–30 LED shop light or clamp lamp to brighten your training area. Good lighting improves motivation and safety.
Ventilation
Garages trap heat in summer and cold in winter. A box fan ($15–20) handles most hot days. For winter, a small space heater warms a garage in 15 minutes.
Storage
Get equipment off the floor:
- Wall-mounted hooks for bands and ropes ($10)
- A vertical dumbbell stand or corner rack
- A storage bin for small accessories
Entertainment (Optional)
A $33 mobile TV stand lets you pivot a tablet or small TV for floor workouts. Position it at eye level for cycling or rowing.
Step 5: Your First Month Training Plan
With your setup complete, here’s how to structure workouts:
Week 1–2: Foundation
- Day 1: Dumbbell presses, ring rows, band pull-aparts
- Day 2: Jump rope intervals (30 sec on, 30 sec rest × 10)
- Day 3: Sandbag carries, goblet squats, ring dips
- Day 4: Active recovery—mobility work with bands
- Day 5: Full-body circuit: bench press, ring rows, dumbbell lunges, jump rope
Week 3–4: Progressive Overload
- Add reps or resistance to each exercise
- Increase jump rope intervals to 45 seconds
- Add one sandbag clean-and-press per set
Smart Tracking
Log workouts in your fitness app. Sync heart rate data. Review weekly to identify what’s working.
Common Mistakes to Avoid
Buying a Cheap All-in-One Machine
Those $299 multi-station towers with “50 exercises”? The cables drag, the frames wobble, and they perform 48 exercises poorly. Your budget is better spent on individual tools that last.
Skipping the Floor
Concrete cracks under dropped weights and destroys joints during floor work. Even $30 of rubber matting makes a difference.
Ignoring Used Markets
Facebook Marketplace, Craigslist, and garage sales frequently have quality dumbbells and benches at 50–70% off. A used 50-lb dumbbell works exactly as well as a new one.
Overcomplicating Smart Tech
You don’t need a $500 smart mirror. A $25 heart rate monitor and a $11/month app subscription deliver 90% of the value.
Building a garage gym under $300 isn’t about finding a miracle machine—it’s about being smarter than the marketing teams selling plastic-wrapped junk. The formula is simple: prioritize versatile, durable tools. Add smart devices strategically. Set up your space for safety and motivation.
Your $300 investment pays for itself in four months compared to a $75/month gym membership. After that, every session is free.
Your action plan:
- Measure your garage space this week
- Source adjustable dumbbells and a bench from Facebook Marketplace
- Order rings, bands, and a jump rope from Amazon
- Set up a fitness app subscription (Peloton or free YouTube alternatives)
- Start with the Week 1 training plan above
The best gym is the one you’ll actually use. A $300 garage gym with smart guidance beats a $75/month membership you dread driving to.

Leave a Comment