
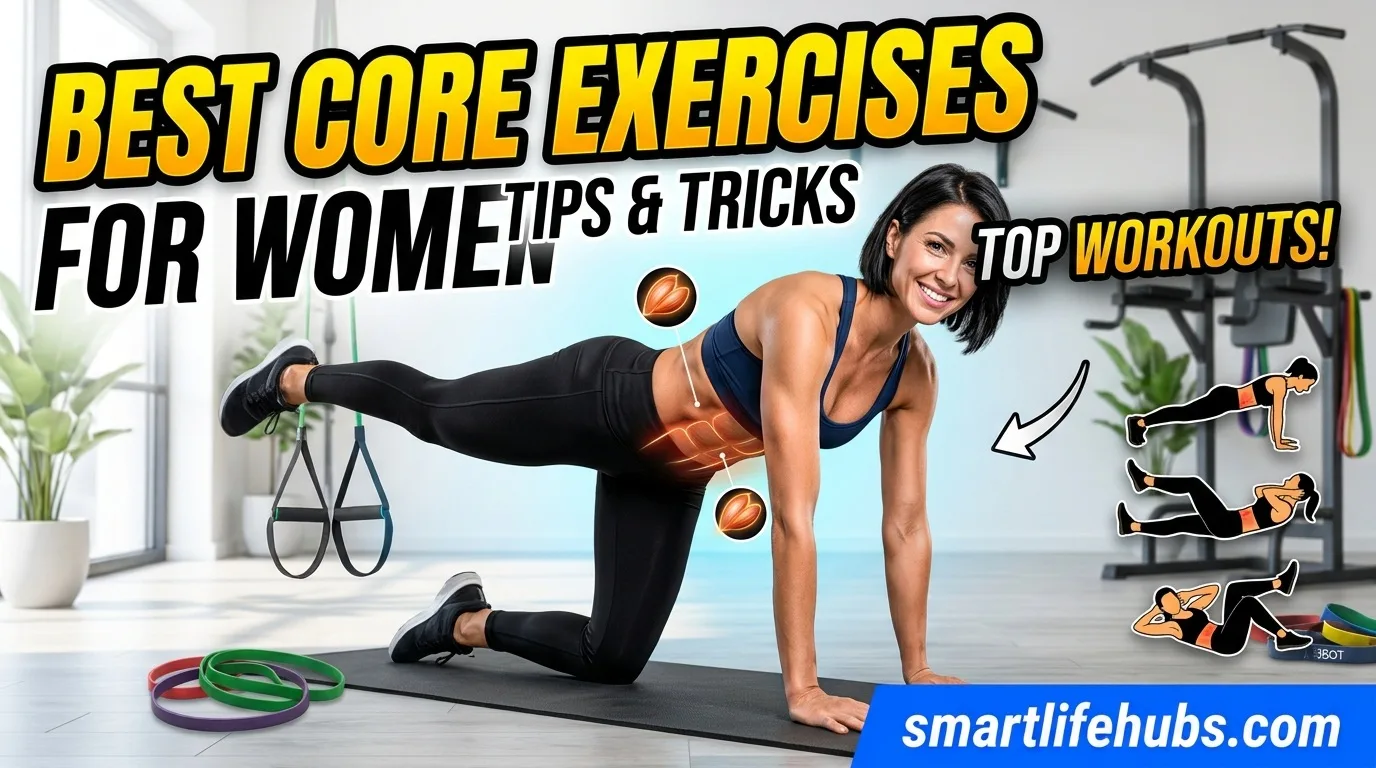
A strong core can help you lift, carry, run, balance, and move through everyday life with more control. But effective core training isn’t just about crunches—or getting a particular look. It’s about developing the muscles that support your trunk and pelvis, then teaching them to work together as you move.
This guide to the best core exercises for women explains which movements to try, how to do them safely, and how to adjust them for different fitness levels. You’ll also find a simple routine, common mistakes to avoid, and guidance on when to get help from a qualified health professional.
Why Core Strength Matters
Your core includes more than your abdominal muscles. It involves muscles around your trunk, back, hips, and pelvis that help stabilize your body and transfer force between your upper and lower body. In daily life, that coordination matters when you carry groceries, climb stairs, reach overhead, or pick up a child.
Core training can build strength, muscular endurance, and balance. It may also help you move with better control during exercise. Think of a strong core less as a rigid “brace” you hold all day and more as a system that can adapt: firming up when you need stability, then relaxing when the task is done.
Why this matters: Training your core in several ways—resisting movement, controlling movement, and moving through a comfortable range—can prepare you for more than one kind of task. A well-rounded routine is generally more useful than doing dozens of repetitions of one abdominal exercise.
Core exercises are not a treatment for every kind of back pain, pelvic-floor symptom, or abdominal separation. If you have ongoing pain or symptoms, an exercise professional or health care provider can help tailor your plan.
The Best Core Exercises for Women
The exercises below train different core functions. Start with the versions you can do while maintaining control and breathing normally. The best choice is the one that challenges you without causing pain, pressure, or a loss of form.
1. Dead Bug
Works: Deep abdominal control and coordination
Good for: Beginners and people learning to keep their trunk steady while their arms and legs move
- Lie on your back with your arms reaching toward the ceiling and knees bent above your hips.
- Gently tighten your midsection, without holding your breath or forcefully pressing your back into the floor.
- Slowly lower one arm and the opposite leg toward the floor.
- Return to the start and switch sides.
Begin with 2 sets of 6–8 controlled repetitions per side. Make the range of motion smaller if your back arches or you can’t breathe comfortably.
2. Bird Dog
Works: Trunk stability, back, and hip coordination
Good for: Beginners through advanced exercisers
- Start on your hands and knees, with your hands beneath your shoulders and knees beneath your hips.
- Reach one arm forward and the opposite leg back.
- Keep your hips level and avoid twisting your torso.
- Pause briefly, return slowly, and switch sides.
Try 2–3 sets of 6–10 repetitions per side. If balance is difficult, move just one arm or one leg at a time.
3. Modified Side Plank
Works: Side abdominal muscles and shoulder stability
Good for: Beginners building toward a full side plank
- Lie on your side with your knees bent and your forearm on the floor.
- Position your elbow under your shoulder.
- Lift your hips so your body forms a straight line from your head to your knees.
- Hold while breathing steadily, then lower with control.
Start with 2–3 holds of 10–20 seconds per side. To progress, straighten your legs and support your body on your feet.
4. Front Plank
Works: Trunk endurance and whole-body tension
Good for: People who can maintain a steady, pain-free position
- Place your forearms on the floor, elbows under your shoulders.
- Extend your legs behind you, balancing on your toes.
- Keep your head, shoulders, hips, and heels in a comfortable line.
- Breathe normally and stop before your lower back sags or your hips rise.
Try 2–3 holds of 10–30 seconds. A plank from your knees or with your hands on a sturdy counter is a useful starting variation.
5. Glute Bridge
Works: Glutes, hips, and trunk control
Good for: Beginners and as a warm-up or strength exercise
- Lie on your back with knees bent and feet flat, about hip-width apart.
- Gently brace your midsection and press through your feet.
- Lift your hips until your body forms a comfortable line from shoulders to knees.
- Pause, then lower slowly without arching your back.
Do 2–3 sets of 8–12 repetitions. Keep the movement controlled; lifting higher isn’t better if it makes your lower back do the work.
6. Pallof Press
Works: Resistance to trunk rotation
Equipment: Resistance band anchored securely at chest height, or a cable machine
- Stand sideways to the anchor and hold the band at your chest with both hands.
- Step away until you feel light tension. Stand tall with feet comfortably apart.
- Press your hands straight forward, resisting the band’s pull to rotate you.
- Bring your hands back to your chest and repeat, then switch sides.
Try 2–3 sets of 8–12 repetitions per side. Use a lighter band if your torso turns or you have to lean to control the movement.
7. Suitcase Carry
Works: Core stability, grip, and posture while walking
Equipment: One dumbbell, kettlebell, or other securely held weight
- Hold a manageable weight in one hand and stand tall.
- Walk slowly without leaning toward or away from the weight.
- Turn carefully, or stop and switch hands.
- Keep breathing normally throughout.
Begin with 2–3 walks of 20–40 seconds per side. Choose a weight that challenges you but lets you maintain an even stride and upright posture.
8. Reverse Crunch
Works: Abdominal control through a small, controlled movement
Good for: Intermediate exercisers who can move without swinging
- Lie on your back with your knees bent and feet lifted.
- Exhale and gently curl your pelvis toward your ribs, lifting your tailbone slightly.
- Lower slowly until you return to the starting position.
- Avoid swinging your legs to create momentum.
Start with 2 sets of 8–10 repetitions. If you feel strain in your neck or lower back, choose a dead bug or heel slide instead.
Quick Comparison: Which Exercise Should You Choose?
| Exercise | Main challenge | Equipment | Starting option |
|---|---|---|---|
| Dead bug | Keeping the trunk steady as limbs move | None | Move one limb at a time |
| Bird dog | Balance and control on hands and knees | None | Reach only one arm or leg |
| Modified side plank | Side-body strength | None | Keep knees bent |
| Front plank | Whole-body endurance | None | Use a wall, counter, or knees |
| Glute bridge | Hip extension with trunk control | None | Lift hips a short distance |
| Pallof press | Resisting rotation | Band or cable | Use light resistance |
| Suitcase carry | Staying upright while walking | Weight | Use a light object |
| Reverse crunch | Controlled abdominal movement | None | Keep the movement small |
A Practical Core Workout: Step by Step
Do this routine two or three times per week, leaving time for recovery between challenging sessions. Move slowly and focus on consistent form rather than racing through repetitions.
- Warm up for 3–5 minutes. Walk, march in place, or do gentle hip and shoulder movements.
- Dead bug: 6–8 reps per side.
- Glute bridge: 8–12 reps.
- Bird dog: 6–8 reps per side.
- Modified side plank: Hold 10–20 seconds per side.
- Pallof press or suitcase carry: 8–12 reps or 20–40 seconds per side.
- Rest as needed. Take about 30–60 seconds between exercises, or longer if you need it to keep good form.
- Repeat the circuit once or twice. Finish feeling challenged but still in control.
If you’re new to strength exercise, begin with one round. Add another round when the exercises feel steady and you can breathe normally throughout.
Adjust the Exercises to Your Fitness Level
Beginner
Start with stable, supported versions. Try wall planks, dead bugs with one limb moving at a time, bird dogs with a hand or foot sliding along the floor, and short modified side-plank holds. The aim is to learn control—not to hold a position as long as possible.
Intermediate
Use the standard versions of the exercises and gradually increase repetitions, hold time, or resistance. For example, extend the opposite arm and leg fully during a dead bug, or use a light band for the Pallof press. Change one difficulty factor at a time so you can tell how your body responds.
Advanced
Make exercises more demanding through greater resistance, slower lowering phases, longer lever positions, or more challenging carries. You might use a heavier suitcase carry or a full side plank. Advanced doesn’t mean ignoring form: if you twist, arch, hold your breath, or feel pain, reduce the challenge.
How to Progress Without Overdoing It
Progression is how your body adapts to training. You don’t need to make every workout harder. First build consistent technique; then increase the challenge gradually.
A practical approach is to choose a repetition range—for example, 8–12. When you can complete the top end of that range with smooth control in every set, consider a small increase in resistance or difficulty. For timed holds, add a few seconds only if you can keep breathing and maintain position.
Recovery matters too. If your core is still very sore or fatigued, choose an easier session or take a rest day. A short, consistent routine is often more sustainable than an intense workout that leaves you unable to train comfortably for days.
Common Mistakes and Misconceptions
“More crunches means a stronger core.” Crunches can be one exercise option, but they are not the only way to train your trunk. Exercises such as carries, planks, and bird dogs challenge your core in different ways.
“I have to keep my stomach pulled in constantly.” Core training involves learning to manage tension, not maintaining a maximal contraction all day. Breathe normally and use only as much bracing as the exercise requires.
“If my abs shake, the exercise is working better.” Shaking can happen when a movement is challenging, but it isn’t a reliable measure of progress. Good form, appropriate effort, and steady improvement matter more.
“Core exercises will spot-reduce belly fat.” Abdominal exercises strengthen muscles, but they cannot target fat loss in one chosen area. Changes in body composition depend on broader factors, including nutrition, activity, sleep, and individual health.
“A longer plank is always better.” A shorter hold with a steady, comfortable position is usually more useful than a long hold with sagging hips, strained shoulders, or held breath.
“Pelvic-floor symptoms are just part of exercise.” Leaking urine, pelvic heaviness, or pain during exercise are reasons to seek guidance rather than symptoms you have to accept. Research on general exercise and pelvic-floor function is mixed, and symptoms deserve individual assessment. A pelvic-health physiotherapist or other qualified clinician can help identify suitable modifications. National Institutes of Health1
Core Exercise, Pregnancy, and Postpartum Considerations
Exercise needs can change during pregnancy and after birth. If you’re pregnant, have a high-risk pregnancy, or have been advised to limit activity, ask your obstetrician or midwife which movements are appropriate for you. Recommendations may depend on your health, symptoms, and stage of pregnancy. The American College of Obstetricians and Gynecologists recommends discussing exercise with your ob-gyn; for many healthy pregnancies, its guidance includes aiming for at least 150 minutes of moderate-intensity aerobic activity each week. acog.org
During pregnancy, stop or modify movements that cause pain, dizziness, or discomfort, and follow your clinician’s advice about positions and intensity. A modified side plank or supported movement may suit some people, but there’s no single routine that fits everyone. Mayo Clinic1
After birth, return to exercise gradually. Your readiness can depend on birth, recovery, symptoms, and your health history. If you notice leaking, pelvic heaviness, pain, or a visible bulging or doming along the abdomen during a movement, reduce the difficulty and seek advice from a health professional. These signs don’t diagnose a condition, but they are useful reasons to get individualized guidance.
A Stronger Core Starts With Consistency
The best core exercises for women aren’t necessarily the hardest or most complicated. Dead bugs, bird dogs, planks, bridges, carries, and controlled resistance exercises can all help build useful strength when you choose an appropriate version and practice with good control.
Start with a few movements, train consistently, and progress gradually. If you’re managing pregnancy, postpartum recovery, pain, or pelvic-floor symptoms, get guidance tailored to you. Save this routine for your next workout, and make the first goal simple: move well, breathe comfortably, and build from there.
Frequently Asked Questions
6What are the best core exercises for women at home?
Dead bugs, bird dogs, glute bridges, modified side planks, and front planks are effective at-home options that require little or no equipment. Choose versions you can perform with steady breathing and control.
How often should women do core exercises?
A practical starting point is two or three sessions per week, with recovery between challenging sessions. Begin with a manageable amount and adjust based on your fitness, schedule, and how you feel.
Can core exercises help with back pain?
Core exercises may support strength and movement control, but they are not a universal treatment for back pain. If pain is persistent, worsening, or affects daily activities, seek advice from a qualified health professional.
Are crunches necessary for a strong core?
No. Crunches are one option, but you can also train your core with planks, carries, bird dogs, dead bugs, and exercises that resist rotation.
Can I do core exercises during pregnancy?
Some people can continue or begin appropriate exercise during a healthy pregnancy, but suitable movements vary. Discuss your plan with your ob-gyn or midwife, especially if you have complications, symptoms, or exercise restrictions.
What should I do if I leak urine during a core workout?
Reduce or stop the movement that triggers leakage and consider contacting a pelvic-health physiotherapist or clinician. Urine leakage during exercise is common, but you do not have to simply accept it.


Leave a Comment